How to I host my WordPress site? Here, you will learn everything you should know to obtain a Web Hosting, install WordPress and then Host WordPress Site!
Table of Contents
What do I need to host a WordPress Site?
The first step to host a WordPress Site is registering a Domain Name and obtain a Web Hosting Plan of your preference. If you don’t know what is Web Hosting, see the articles in our blog!
But pay attention: To run WordPress, your server must support PHP and Database files. In particular, the MySQL Database. This is necessary because WordPress is written in the PHP programming language. In addition, WordPress sites have dynamic content that saves information in the database. Therefore, it needs the database to be able to function perfectly, usually, MySQL is used.
Now, you have known the requirements necessary to install WordPress.
WordPress is one of the most used CMS in the world. Because of that, most Web Hosting offer you a Hosting optimized for WordPress. So, that shouldn’t be a problem for you.
Some Web Hosting has an option to install the WordPress from a Control Panel.
At Copahost we offer several hosting services to meet any needs you need, with quality and safety! Our servers are optimized for WordPress! And we have an option to install it easily from the Control Panel!!! We have the best Plans for you! And you can obtain your Domain Name with us too! Come to see our best plans!

After these steps, you will be able to host your WordPress site.
How to host a Site?
In your server, you can upload so many files. The files of your Website have to be on the directory: “public_html“. In some servers, this directory has the name: “www“. That is the root directory responsible for your website.
Therefore, you must upload all files from the site to that directory.
Basically, this is how any website is hosted.
With WordPress isn’t different. But, the way to install it can have some differences from an HTML website.
Obtain a WordPress Site Hosting at Copahost
At Copahost, you can obtain your Web Hosting easily. For first, access our homepage. There you can find our plans. Choose one and click in “Order” button.

Next, you should choose your domain name:
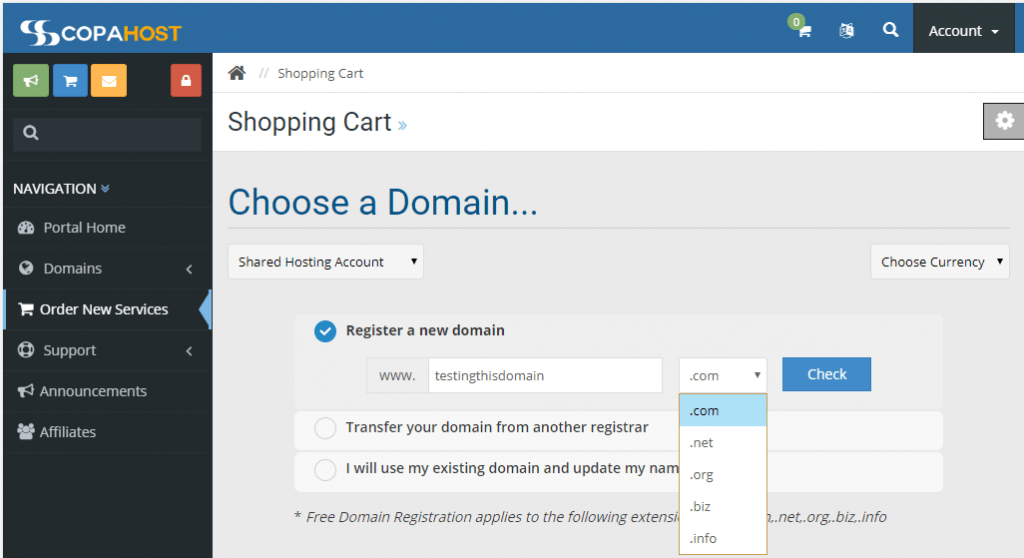
If that is available, you will see this message:

Click on Continue. Next, you should make your checkout. Confirm what Billing Cycle do you prefer. If you want a dedicated IP, you can select here the option Yes. After that, click on Continue.

Now, Now, you must fill in the form with your data correctly. In the end, click on the “Complete order” button:

Everything is ready. Make the payment and you will receive a confirmation by email. Now you already have your hosting plan and your domain name! Put your website on the internet!
Install WordPress from the Control Panel (easy method)
Another way to install WordPress is by installing it from your Control Panel. Some panels, like the cPanel or DirectAdmin, can offer automatically applications installation. In this way, you just need some clicks.
In DirectAdmin, you can find the menu “Extra features” and then the option “Softaculous Auto-Installer“.

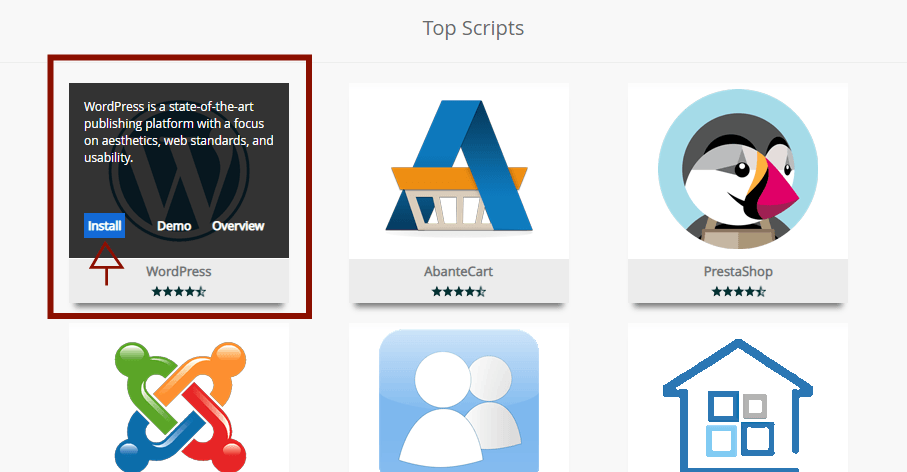
There you will find so many features to install, like the WordPress CMS. Hover the WordPress option and then click on Install Button.
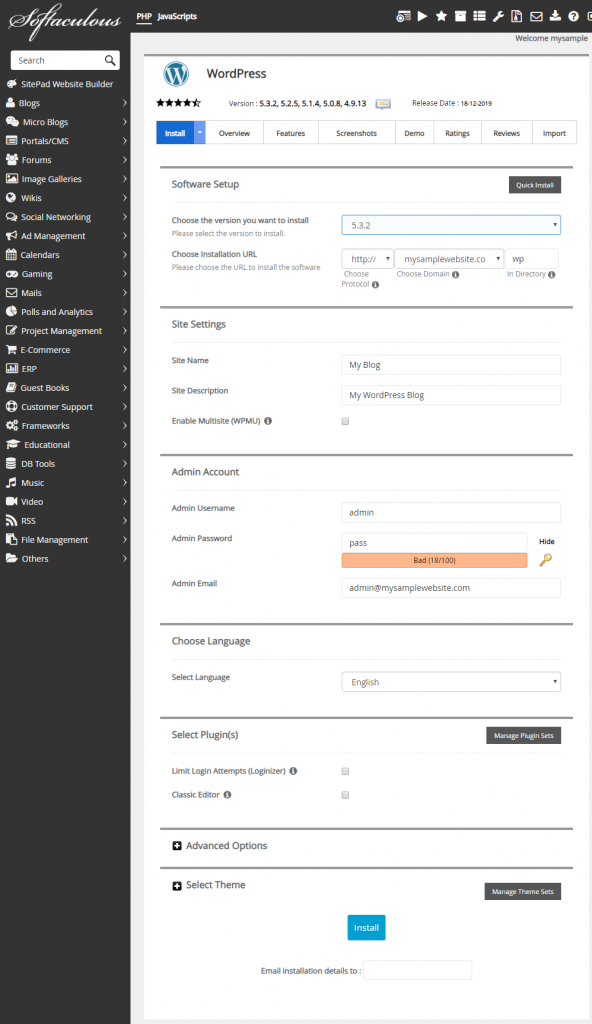
Now you just need to fill in the fields as instructed and at the end, WordPress will be installed perfectly on your hosting! You will see a screen like that:
After Installation, you will receive a message from Softaculous like this:
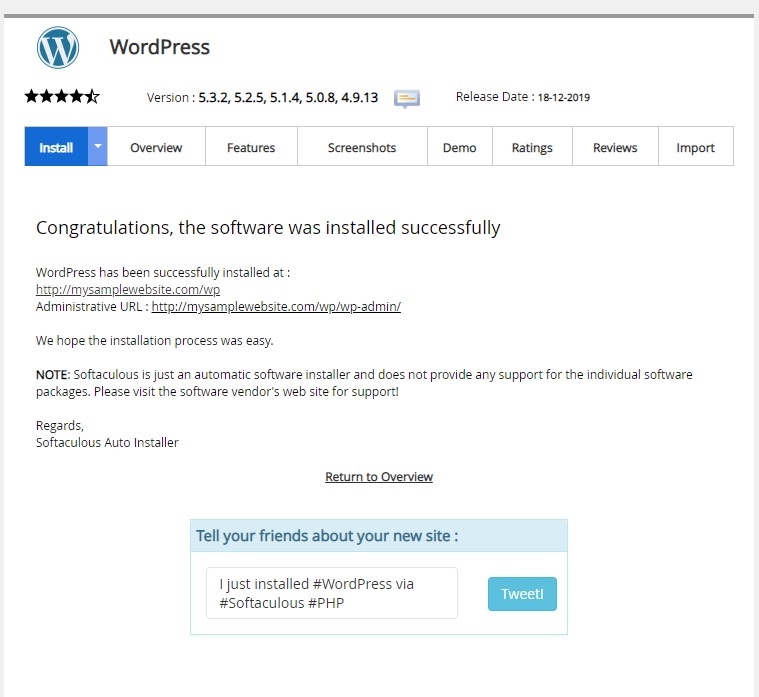
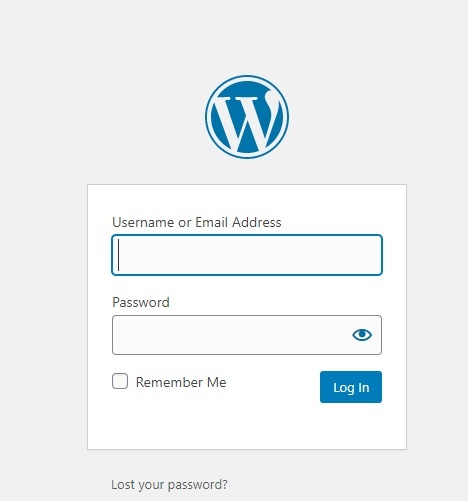
After that, the WordPress is installed. To access the dashboard you just have to use the administrative URL “/wp-admin“, like in the URL “mysite.com/wp-admin“. You will see this screen of WordPress Login. So, put your credentials (login/e-mail and password) and make a login on your wp-admin:
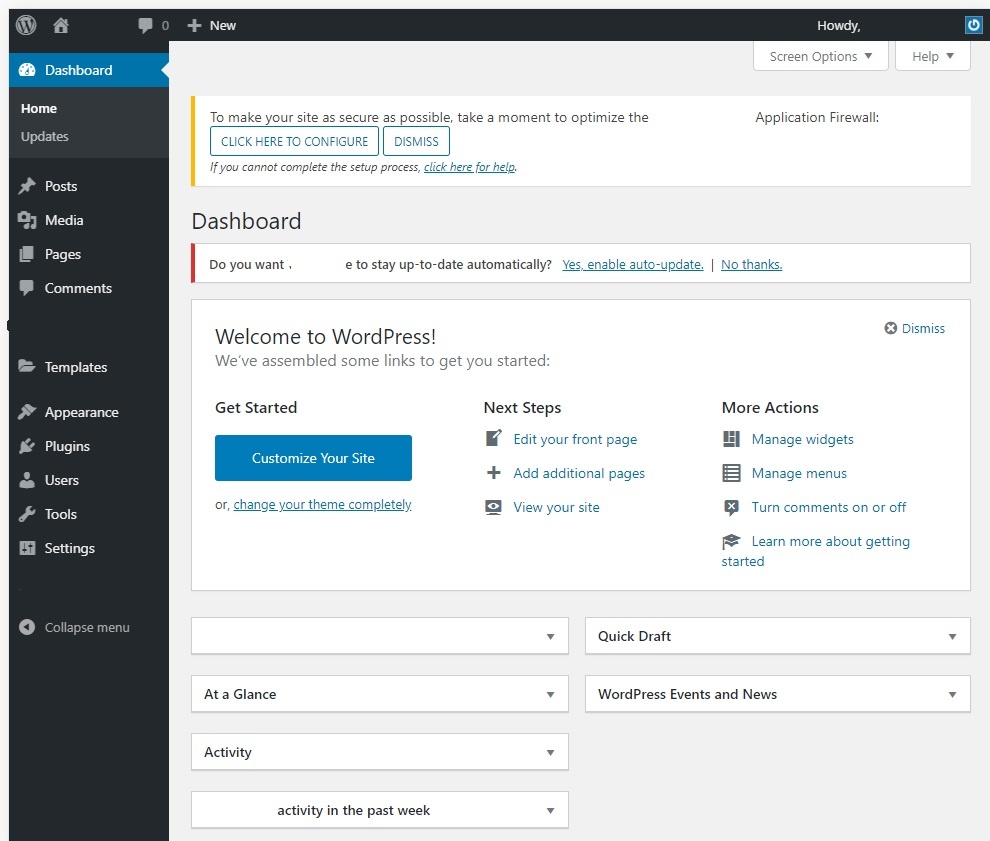
After the login, you will be on your WordPress Dashboard:

With just some clicks you have installed the WordPress! Now you have a Host to your WordPress Site! Go there and install some themes, some plugins to make your site!
Install WordPress Manually (harder method)
WordPress can be installed manually. To do that, follow the next 4 steps:
Step 1: Download the WordPress Files
Access the Download Page of WordPress.Org and click on “Download WordPress”.
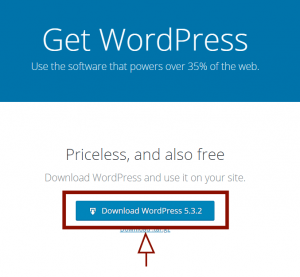
After that, the download will start. When the download is completed, you can unzip all files to a directory.
Step 2: Upload the Files to your WordPress Hosting
You can upload your files in different ways. The files responsible for your site must be located in the “public_html” directory.
The most part of Web Hostings has an FTP (File Transfer Protocol). So, you can use an FTP client, like the Fillezila, to upload your files to the server.
Another way to upload your files is with SSH (Secure Socket Shell). But, firstly you must verify if your Web Hosting has this service. With SSH you can uncompress a zipped file directly on your server, without need to do that manually.
Another very common way to upload your files to the server is through your Web Hosting Control Panel. Some Hosts use cPanel, DirectAdmin or other known control panels. However, there are also those that use their own panel. Regardless, most allow you to upload files directly through this panel via a file manager.
So, now, you must upload all WordPress Files to your server using one of these methods.
How can I upload my site to my web page hosting in Copahost?
Copahost uses the DirectAdmin Control Panel. So, when you log in, you will find a panel like this image:

choose the menu “System Info & Files” and nextly choose the option “File Manager“:

Now, you should find the public_html directory. Click on it to go to this directory.

Here you can see your site’s files. Now, click on Upload File, and then, select or grab your files here.


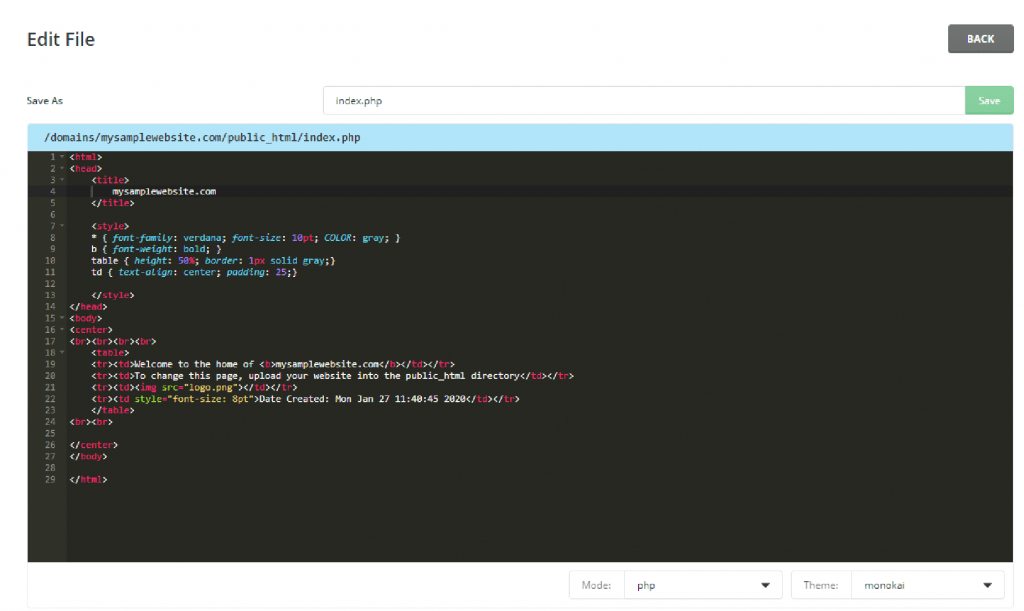
Copahost’s control panel also allows you to edit HTML, CSS, PHP, JavaScript, and other files on it, without having to upload files. For that, you should mouse hover on your file, then choose the option “Edit File“:
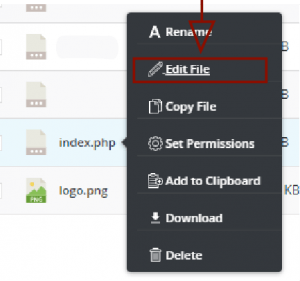
Now, you can edit your file in this page! To save, just click on the “save” button.
Step 3: Create a Database
In WordPress, you need a Database. So, you must have or create a Database for WordPress uses.
You can use the PhpMyAdmin to create your new database. But, you can choose another way, like the cPanel database control System, or the MySQL management from DirectAdmin.
In Copahost we use the DirectAdmin dashboard. So, you can go to the menu “account manager” and then select the option “MySQL management“:

Then, click on “Create New Database“:
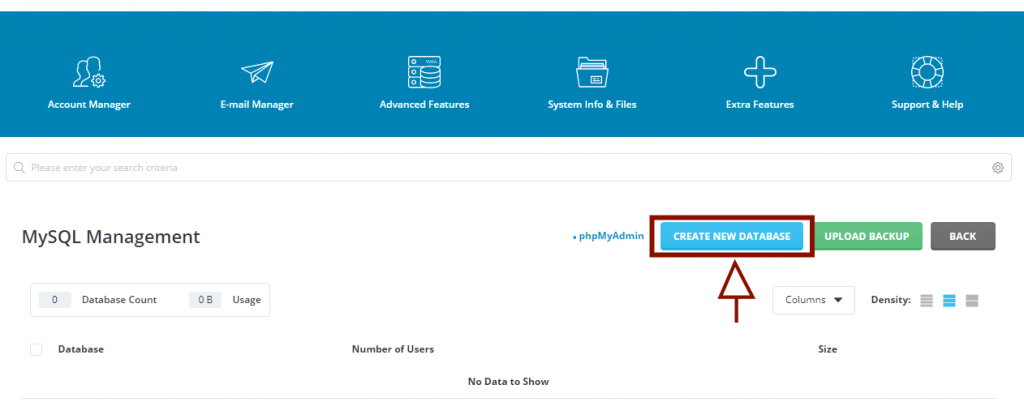
After that, you just have to choose a database name and a password. If you want, you can modify the database username, just unmark the option “same as database name“.

To finish the database creation, just click on “create database“.
Step 4: Access your Site WordPress Dashboard with WP-Admin
Now, just access your Site WordPress Dashboard. If you have a domain name like mysite.com, use the URL mysite.com/wp-admin to access the WordPress Dashboard. Follow this example to access your dashboard.
Step 5: Follow the instructions that WordPress tells you
Now, you just have to follow the instructions that WordPress tells you. After that, you already have WordPress on your site.