Do you know how to host an HTML site? And about what host is better for you? So, let’s see that and other things you have to know about it.
What do I need to host an HTML Site?
The first step to host an HTML site is registering a Domain Name and obtain a Web Hosting Plan of your preference.
At Copahost we offer several hosting services to meet any needs you need, with quality and safety! We have the best Plans for you! And you can obtain your Domain Name with us too! Come to see our best plans!

After these steps, you will be able to upload files from your website to the Web Hosting Server!
How to host an HTML Site?
In your server, you can put so many files. The files of your Website have to be on the directory: “public_html“. In some servers, this directory has the name: “www“. That is the root directory responsible for your website.
Therefore, you must upload all files from the site to that directory.
How can I upload my site to the server?
You can upload your site in different ways. But, don’t forget, the HTML file responsible for your homepage must be named by “index.html” and be located exactly in the “public_html” directory, not in its subdirectories.
So, one way to upload your files is by using an FTP (File Transfer Protocol). The most part of Hosting Services has an FTP. So, you can use an FTP client Software, as the Fillezila, to upload your files to your server.
Or else, you can upload files using the control panel’s file manager. It’s also known as a web-based Online FTP. Some Hosts use cPanel or DirectAdmin. But, you can find other Host that uses another type of control panel. Some host creates her own panel. Regardless, most allow you to upload files directly through this panel using a file manager.
Copahost’s control panel also allows you to edit an HTML file on it, without having to upload files.
Another advanced way to upload your files is by using SSH (Secure Socket Shell). But, firstly you must verify if your Web Hosting accepts this service. With SSH you don’t need to uncompress a zipped file manually. You can uncompress a zipped file directly on your server.
Finally, how you can see, there is so different way to host your HTML site, choose the one you liked and put your site online!
How can I upload my site in Copahost?
Copahost uses the DirectAdmin Control Panel. So, when you login, you will find a panel like this image:

choose the menu “System Info & Files” and nextly choose the option “File Manager“:

After, you should find the public_html directory. Click on it to go to this directory.

Here you can see your site’s files. Now, click on Upload File, and then, select or grab your HTML files here.


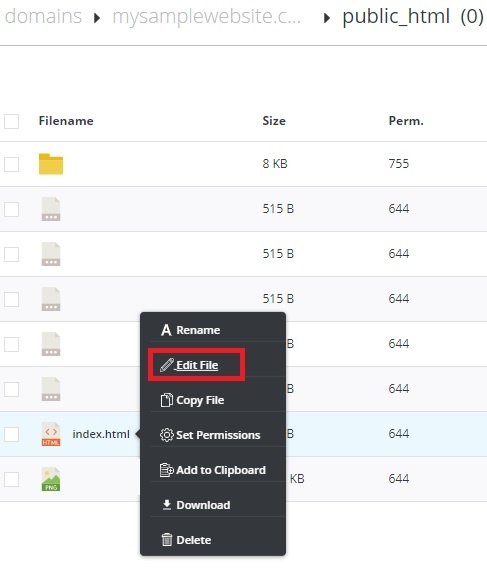
Copahost’s control panel also allows you to edit an HTML file on it, without having to upload files. For that, you should mouse hover on your file, then choose the option “Edit File“:

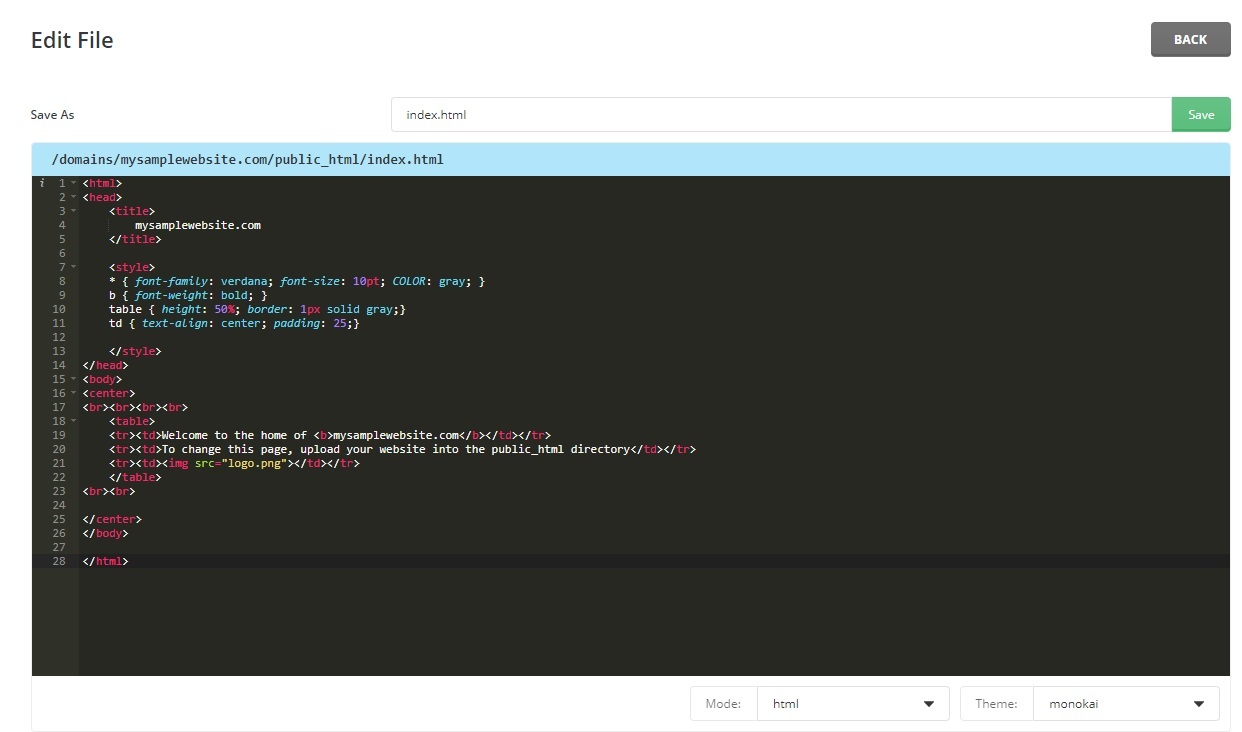
Now, you can edit your file in this page! To save, just click on the “save” button.

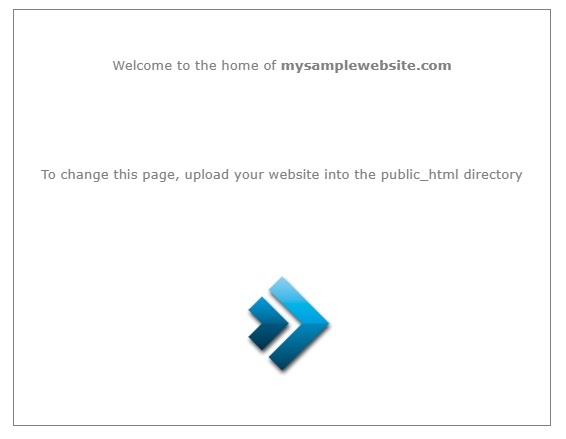
The result of the above code in the browser will be as follows:

What do I do after the upload?
After upload your site in the host, you just have to verify if they are in the right directory (“public_html” or “www”) and check if this is online, accessing with your domain name.
What Host is better for me?
Firstly, you must verify what is your needs. It is, what configurations your server must have to support your website. That depends on the size of your website, how much access should you have, what type of recourses do you need and so many things. In most cases, a Shared Hosting Simple plan is sufficient. But, for some needs, we must choose other options.
For all of that options, Copahost has so many Web Hosting plans for you! Take a look, certainly, you will find what you need!